Here are the instructions to use the Swap Tool that the Scala team has put forward to help people who were not able to swap using the exchanges.
Youtube Tutorial
https://www.youtube.com/watch?v=FJhNd0frrtM
Step 1
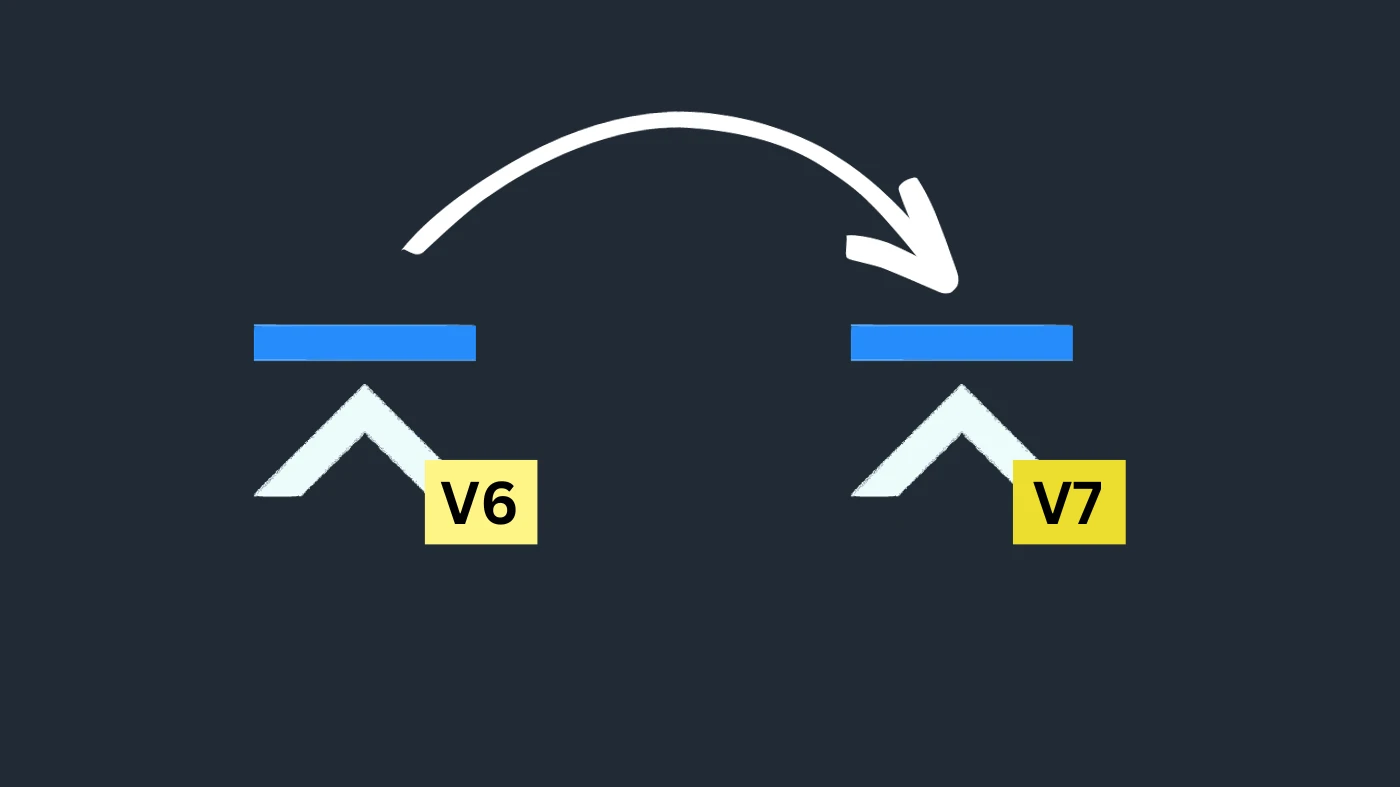
Since Scala has now implemented a new chain, you’re gonna need a v7 address for the swap. The previous Scala address that you were using is invalid on the new chain.
- Download and install the new v7 wallet.
- Close the previous v6 wallet if it’s open (but do not uninstall it, you will need it after).
- Open the Settings page of the new wallet.
- If using a remote node, you can use one of the following ones:
– https://mine.scalaproject.io/:8000
– scalanode.com:11812
– XLAnode.com:11812
– scala.ethospool.org:11812
– daemon.pool.gntl.co.uk:11812
– 164.68.115.234:11812 - Click the “plus” icon, and give a name to your wallet. You can choose a password for more security.
- Save your seed phrase to a secure location. Make sure you don’t lose it because you will need it if you need to restore your wallet in the future.
There you go, you now have a new v7 address to store your coins.
Step 2
Now we are going to open the swap tool. It’s located at this URL: https://swap.scalaproject.io/
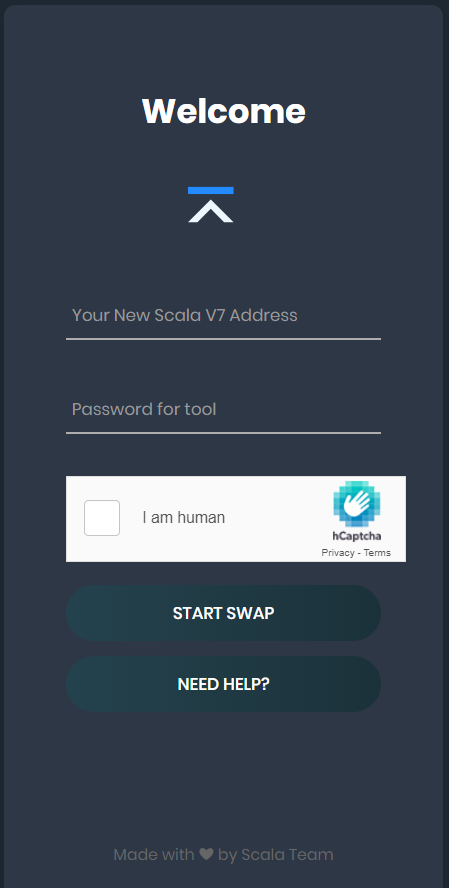
- In the first textbox, you can enter the v7 wallet address that you created earlier.
- In the second textbox, you can enter a password that you can use to check the swap progress for your account, later if need be.
- Complete captcha.
- Click the “Start Swap” button.
- Login using your newly created account.
You will then be greeted with a different page that has 5 buttons.
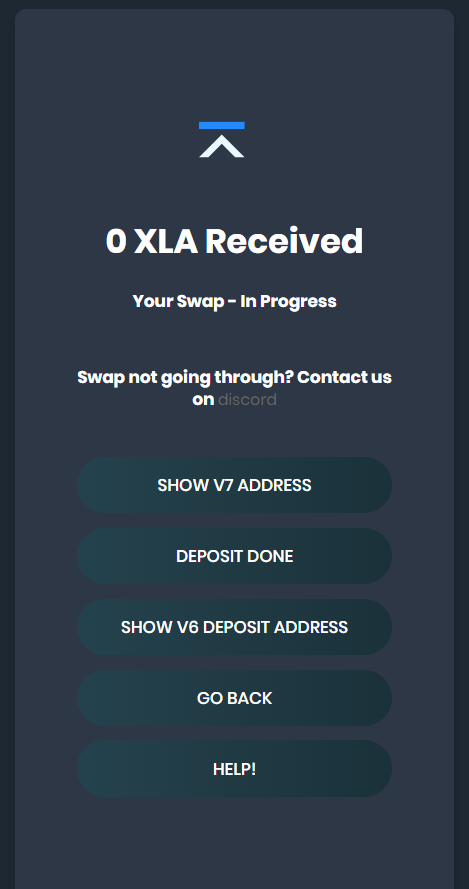
- Click on “Show v6 deposit address”.
- After you click on that, you will be presented with a v6 address where you can deposit your coins from your actual v6 GUI wallet.
- Copy this v6 address somewhere.
Step 3
The last step is to use your v6 wallet to connect to the special remote node that has the stop block programmed in.
If you generated your v6 wallet address using the paper wallet, if the v6 GUI/CLI wallet is not currently installed on your computer or if you have an older version of the wallet (from Stellite or Torque), you will have to download and install the v6 GUI wallet first and restore your wallet using your seed words.
- Open your v6 wallet and go to the Settings page (close your v7 wallet first)
- Choose “Remote Daemon Only”.
- Specify the address: https://swapnode.scalaproject.io/ with port 20189.
- Click “Save”.
- Let your wallet sync up. Be patient, it can take several hours and even more than that!
- Send your coins to the v6 address provided by the Swap Tool earlier.
Step 4
Once you have deposited all the v6 coins that you want to swap, go back to the Swap Tool.
- Wait to see all your coins appear in the Balance (you may have to reconnect to see your updated balance)
- Once you see that all your coins have been deposited to the Swap Tool, click on “Deposit Done”.
Note that you can do multiple deposits using the same v6 address, but once you click on “Deposit Done”, you cannot use this address anymore.
You can wait for the system to transfer the coins that you sent into your new v7 wallet address.
In the meantime, you can re-open your new v7 wallet and make sure to enter a v7 remote node to check your new balance.
Once you receive your new coins into your v7 wallet you can uninstall the previous v6 wallet.
Warning
Please be very careful when using this tool and make sure you use a valid v7 receive address so that your coins are not lost.
Note that the logs in this server will be deleted periodically to protect user privacy.