The Scala Command-Line Interface (CLI) Wallet, scala-wallet-cli, is a console program designed to manage your Scala coins. Similar to Monero, Scala separates the blockchain handling into scalad and the account management into scala-wallet-cli.
Note: The CLI wallet is intended for more advanced users. If you are looking for a more user-friendly option, take a look at the different wallet applications that we provide here.
Step 1: Download binaries
To send and receive XLA, you need the Scala wallet and binaries.
- Download the latest files as separate zip files or packaged zip file here: https://github.com/scala-network/Scala/releases
- (for Windows) Extract the files to a convenient location such as
C:\Documents\Scala.
Step 2: Synchronize with the network
Before accessing your Scala wallet, you need to synchronize with the Scala blockchain and make sure you are positioned at the latest block. The blockchain handling and the wallet are separate programs. The application handling the blockchain operations is called a “daemon”.
There are two options available to make sure the CLI wallet can communicate with the Scala network: local daemon or remote daemon. Note that we sometimes use the term “node” to refer to a daemon. To learn more about remote nodes, take a look at this article.
In simple terms, if you want more control and privacy over your operations, it is better to use a local daemon, but if you prefer simplicity it is better to use a remote daemon.
Option 1: Local daemon
Let’s see how to run and sync the Scala daemon on your local machine.
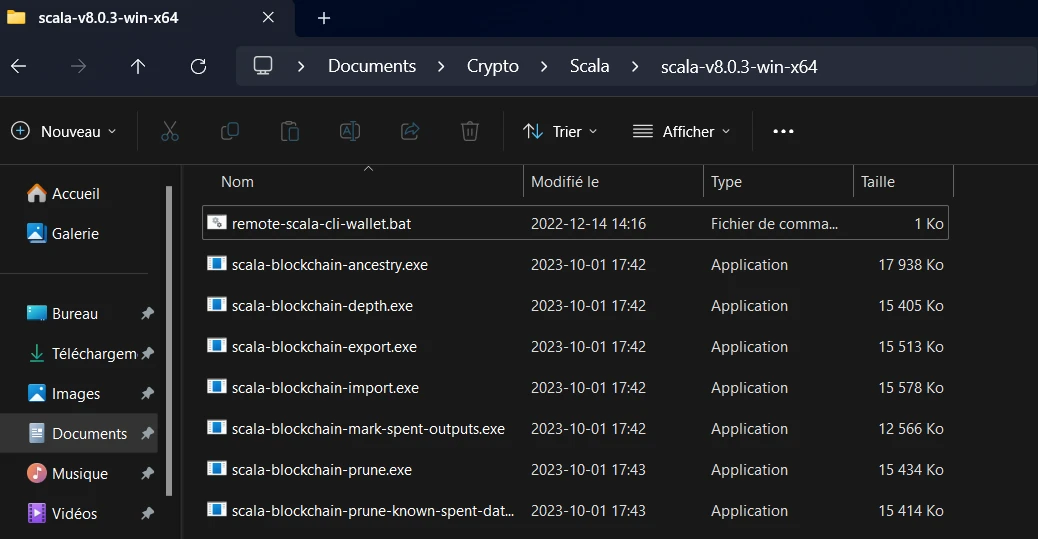
- Go to the folder where you downloaded the Scala binaries. Make sure you unzipped the files first.
- Locate the file
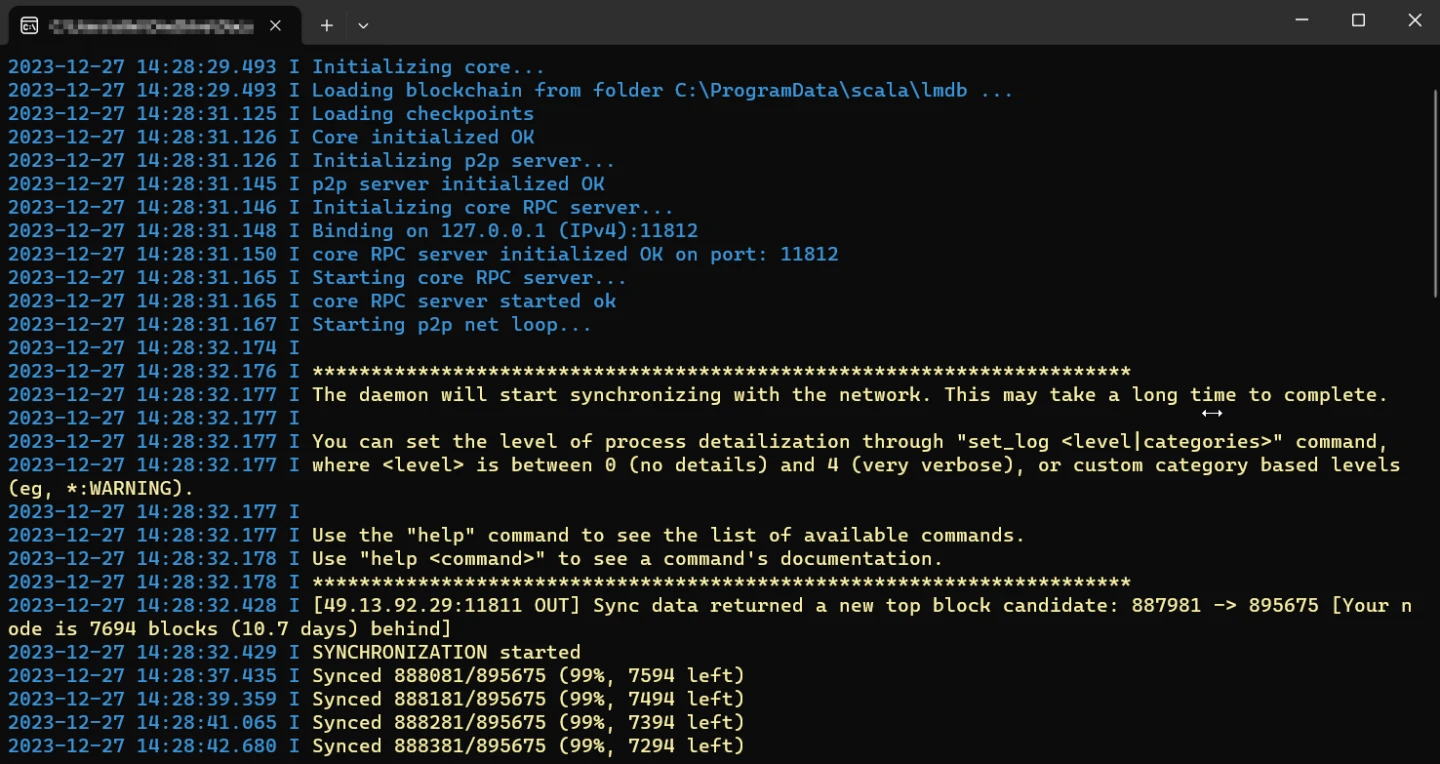
scalad.exein this folder and run it. - Let the process run in the background. If it’s the first time you run the daemon, it can take some time, but it’s completely normal. Check the image below.
- When the process reaches 100%, the console will show the message “You are now synchronized with the network. You may now start scala-wallet-cli.”. Check the image below.
- Leave the
scalad.exeapplication running in the background. Don’t close it: you need it running to use the CLI wallet.

Option 2: Remote daemon
If you prefer connecting to a remote daemon, you don’t need to do anything to synchronize with the network, as all this process is done for you by the remote node operator. What you need to do is tell the CLI wallet to use the remote daemon instead of the default local one.
The easiest way to do it is to pass parameters to the scala-wallet-cli application.
Windows
- Go to the directory where the Scala binaries are located. For example,
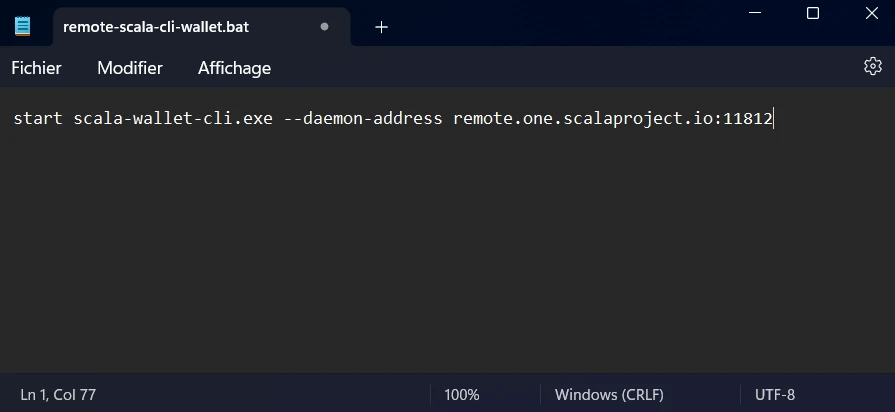
C:\Documents\Scala. - Create a new text ile and give it a name, for example “remote-scala-cli-wallet.txt”.
- Edit the content of the file and add the following text: “start scala-wallet-cli.exe –daemon-address remote.one.scala.network:11812”.
Note: You can use any supported remote node you want. Check the image above. - Save the file and change the extension from “txt” to “bat”. Check the image above.
Step 3: Run the CLI wallet
Local daemon
- Make sure that the scalad.exe process is still running in the background and that it’s completely synced.
- Execute the “scala-wallet-cli.exe” application.
- Go to the Common Steps section below.
Remote daemon
- Execute the
remote-scala-cli-wallet.batbatch file you created in the previous steps. - Go to the Common Steps section below.
Common Steps
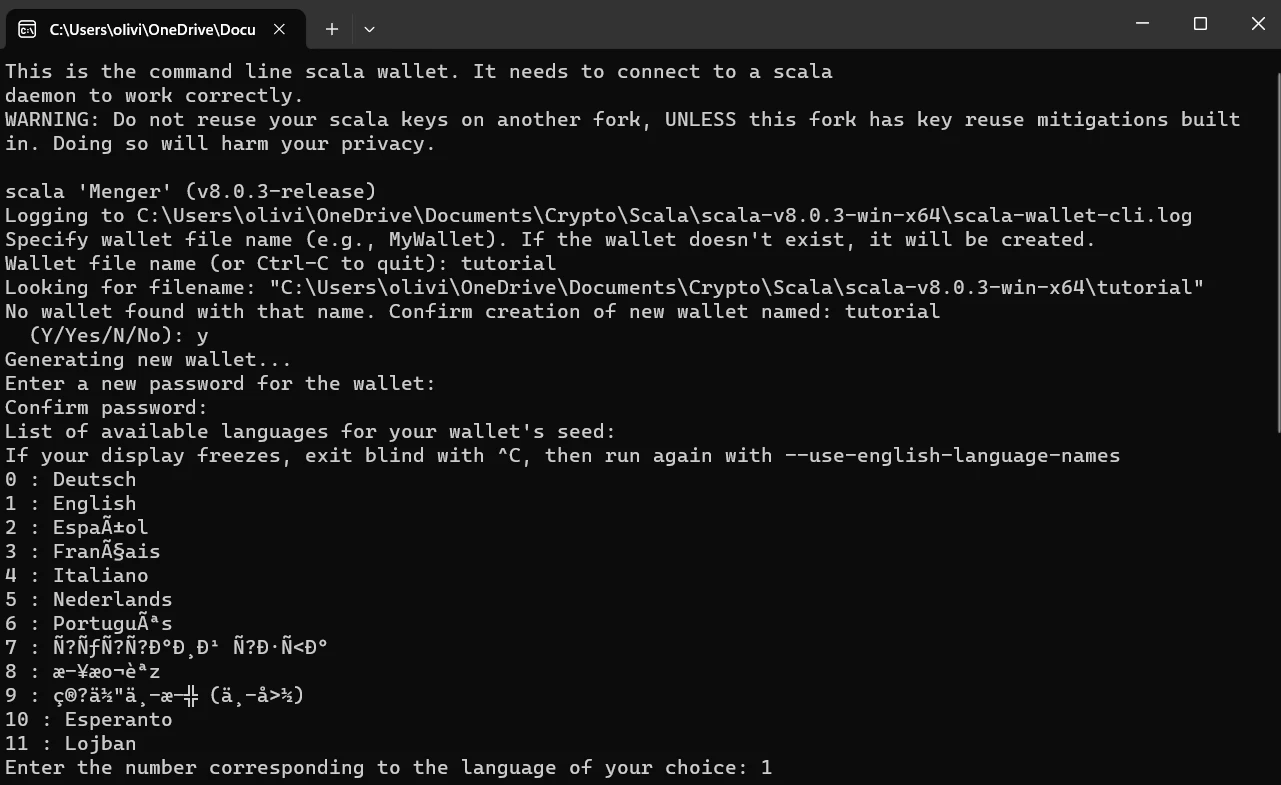
- To create a new wallet, simply enter a name, and specify a password and the desired language. Check the image above.
- ⚠️ Important: Locate the 25 seed words and save them somewhere safe. This is very important as it is the only way to recover your wallet.
- Bravo! You can now start using your wallet. Check the commands below to help you get started.
Commands Overview
You can access a list of essential commands by running:
help: Show available commands.help <command>: Display documentation for a specific command.apropos <keyword>: List commands related to a keyword.
Wallet Operations (scala-wallet-cli.exe):
wallet_info: Display the main wallet address and other information.balance: Show the wallet balance.address all: List all wallet addresses.address new [<label>]: Generate a new subaddress.transfer <address> <amount>: Send XLA to a specified address.show_transfers [in|out|pending|failed|pool]: Display transaction history.sweep_all <address>: Send the entire balance to another wallet.seed: Display the 25-word seed for wallet recovery.refresh: Synchronize wallet with the Scala network.status: Check the current wallet status.version: Check the Scala software version.exit: Exit the wallet.
Mining Operations (scalad.exe):
start_mining <threads>: Start solo mining with a specified number of threads.stop_mining: Stop mining operations.